|
||
|
Advice_ FAQ _Media _Resources _Performance _Tech Help _Data _Forum _Search _Contact |
|
Spark Plug Replacement |
|
HOW TO CHANGE THE SPARK PLUGS Parts you will need... 8 NGK PFR5G-11..... Use only NGK!!! Trust me, you didnt buy an infiniti to cheap out on spark plugs.... You can get them from Joe at Scottsdale for about 65/set...... I sell these plugs, send me an email at wes@q45.org. [See also: Required Spark Plugs] Tools you will need...... A good set of metric allens... 4mm if I recall correctly to remove the ornament cover, but you might as well get the whole thing, because you will need it later..... The service manual calls for a 16mm spark plug wrench, but I believe 5/8 will work also.... A good extension (a long one and a short one will do) 10mm wrench (also good to have a 10mm socket handy also) A set of needle nose plyers A telescoping magnet (you WILL drop something, and you WILL need it) Torque wrench (I didn't have one, so not required)
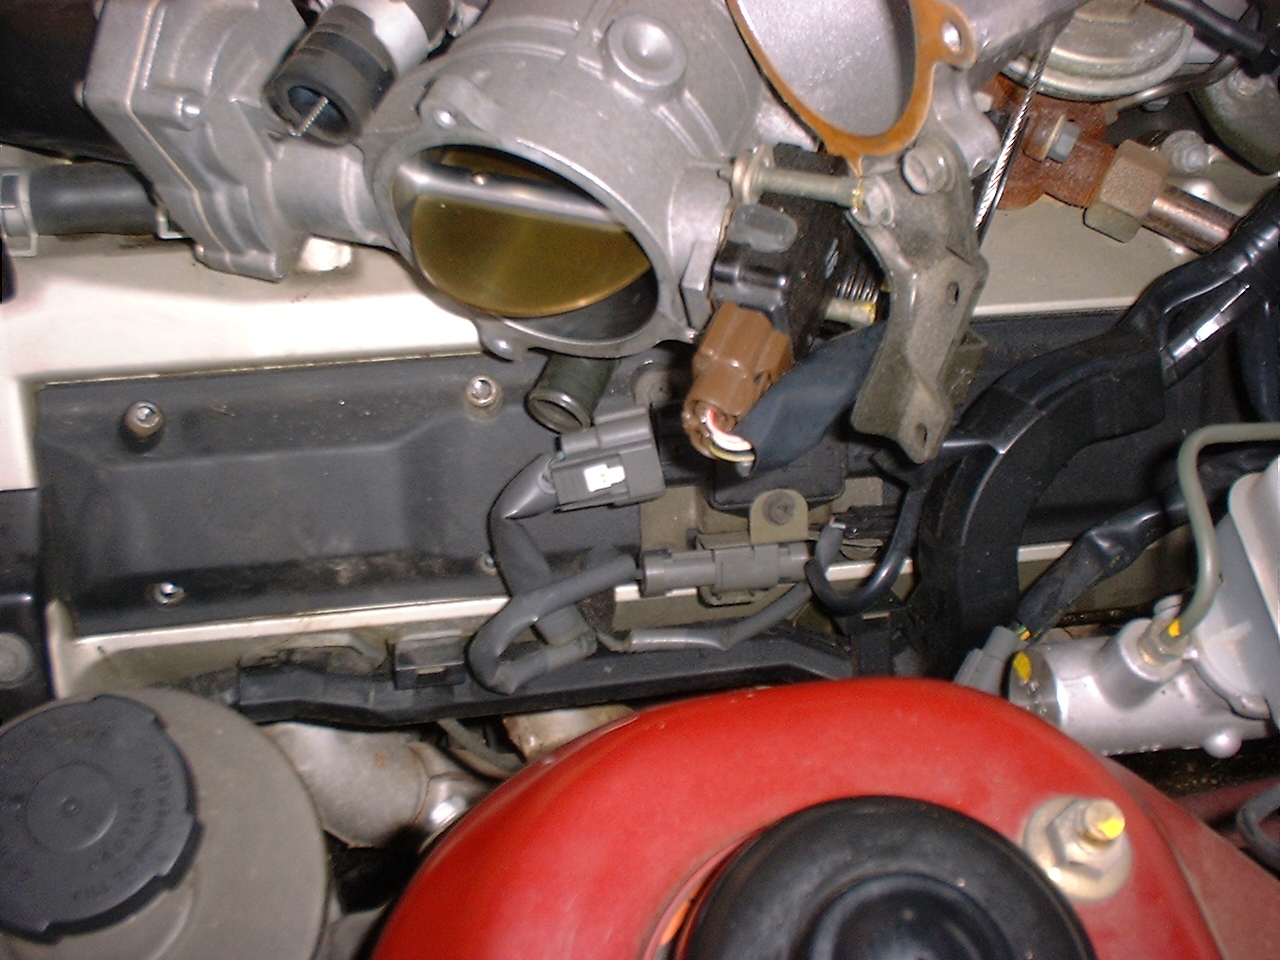
First, you need to remove the black intake hose..... Unscrew it from the TB, and undo the vacuum hose running underneath the TB hooking into the TB.... Remove the little hoses on the MAF end, and it should come right off..... Next remove the metal bend... There are 3 allens, one on top and bottom, and short one on the side.... You will need to remove the hose on top of it... Undo the clamp on the one end, and leave the hose connected to the other side... Leave the wires connected to it, and move it aside.....
It should look like this
Next, you will need to remove the ignitor pack... Its the black box in the middle of the black ornament cover...... There are 4 10mm bolts holding it on, and undo those, plus the connectors...
Set the ignitor pack aside, and then start taking out the 8 allens on the ornament cover.... The ones in the back are really hard to get at, so having a free allen (ie not on a tool set) makes getting these much easier...... Remove the ornament cover..... Mine was stuck to the engine pretty well, so you may have to pry it off to break the seal......
When you get it off, you will see 4 coils..... I undid all of the connectors to the coils at one time, and moved it aside.... Be very careful, they are brittle, and you dont want to break it...... Mine were tie wrapped, so I broke the wraps to get them out of the way... There is no need to re-tie wrap them, since the wires are pretty well fused in the position they will need to be....
Get out that 10mm wrench again, and undo the 2 bolts holding on the coil...... Pull out on the coil, you will need to pull pretty hard to get it loose......
Here is a picture with the no. 1 cylinder coil off
The No. 1 cylinder is the easiest one, so don't get used to it!!! Put the socket on the extension and then drop it down in the hole, and pull out the plug.... I didnt have a spark plug wrench (just a normal deep socket), so it didnt have any way to pull out the plug with it, so I just went down there with some needle nose plyers to get it out...
Take some spray lubricant, and spray down in there.... I used SEAFOAM DEEP CREEP... Spray the threads really good, and I sprayed the top of the piston a little..... Spray the threads of the plug good, and replace.... You'll need to drop the plug down in there, and then with the extension tighten it up, and then hook up the ratchet to tighten it.....
Tighten firmly (not completely tight, but snug), or as per the service manaul, tighten to 22 ft./lbs.....
Repeat for the rest of the cylinders, and put everything back in reverse order.....
TIPS The number 7 and 8 cylinder are just plain no fun..... Almost impossible to get at..... If you have to, drop the socket in first, then the extension, and then the ratchet...... On the no. 7 cylinder, drop the socket in, put the extension in between the brake lines, and then hook up the ratchet...... This is also a good time to replace the fuel filter, as it gets in the way of the no. 3 and 5 cylinder..... |